Post by saturnfan31 on Feb 10, 2016 16:13:21 GMT
This is a long winded guide without using a soldiering iron or modifications. I'm not 100% on mods as I've used a modded PSX in the past and that failed after a short amount of time. This way may cost a bit more, but a lot less hassle.
A few months back I did a complete strip down of my old PAL Saturn and replaced it with a JPN motherboard, PAL PSU and a new NTSC laser unit. I figured I do a guide for it. This will save the use of using step down converters. Thanks to Zyrobs for assisting me with the serial numbers, had to make sure what I purchased would work.
Equipment needed.
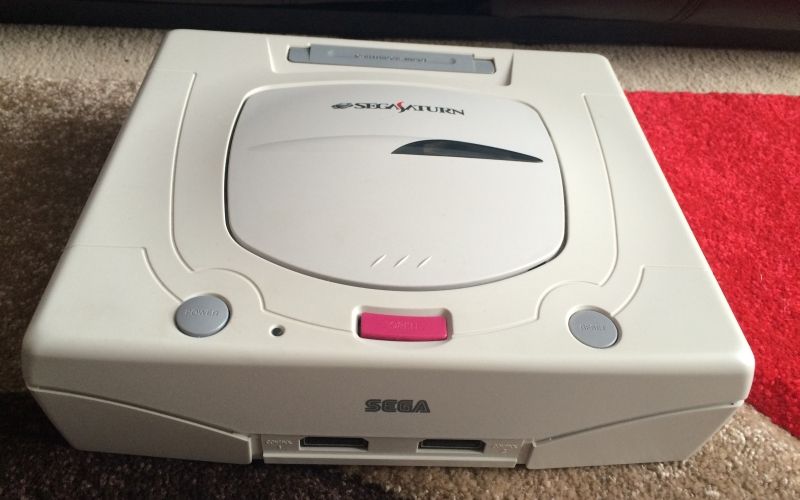
PAL Saturn.
JPN Saturn. Mine had a duff laser, which I've now replaced. Faulty JPN Saturns maybe cheaper, but check before purchase!
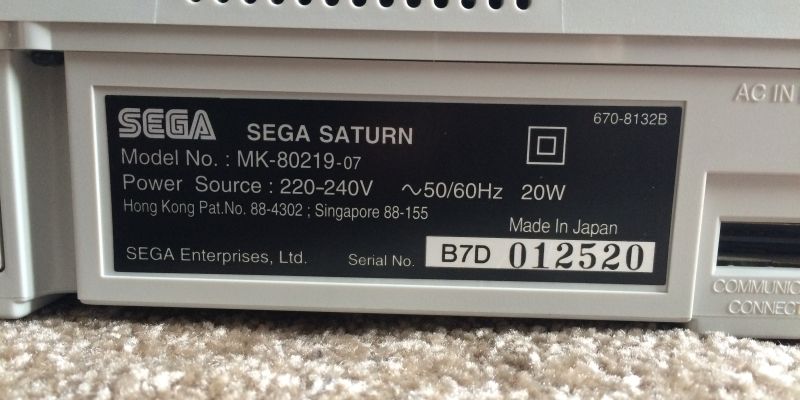
Very important that the serial numbers are similar and the revision is also correct. Mismatch em wont work. Please See Mick's post for clarification.
Phillips screw driver
A lot of patience. Do not rush this, take your time. I made a couple of mistakes during the reassembly process, which took longer. Total time for me 1 hour 15 minutes.
I would post pictures, but the camera I had at the time was shoddy. Really naff quality. I will post new ones in due course. There will be a few screws, try and keep them together and not mixed up like I did Oops!.
1. Strip down the PAL Saturn, take lid off and carefully unscrew the PSU. Keep the UK PSU to one side (I post-it mine so I wouldn't confuse myself when I took the other out). There are videos on YouTube how to strip it down if your doing one of the mods.
2. Carefully un hook the ribbon cable from the laser unit. These are delicate. There is a screw in place that holds the laser unit to the console. On the right hand side. Unscrew that and there's one also below it. Might need a small screw driver, as its a tight fit to get to that lower screw. Unhook the cables at the side of the laser unit that come from the motherboard then remove the laser unit and put it to one side.
3. At the front will be another ribbon cable that feeds the control ports, un hook this also.
4. Unscrew the metal casing that's shielding the motherboard. Its a few screws, they are in the corners. Once they are unscrewed, lift it by the 4 black terminals that hold the laser unit. Carefully feeding the still attached ribbon cables through the holes. They may need a tiny bit of force to feed em through.
5. Now you should be able to see the motherboard. From what I recall the motherboard should be free to remove. Take it out and put it to one side. I went to the landfill with mine as I duffed the pin 79 method.
Now on to the JPN Saturn
Note: Make sure the Power supply design is the same type as the PAL design (Separate PSU, detachable). They may look slightly different that's ok. There should be 5 pins. 9v 5v 3v 3v & GND ( I think that's right?) Cant mix them up as the power supply fits one way. Do not force it, gently install it.
Put the disassembled PAL Saturn to one side as you don't want to confuse yourself with similar parts. I chose the PAL case as the JPN case didn't match my stereo unit colour. Your preference what colour you want the shell to be.
Once you've dissembled the JPN Saturn. Depending on what your doing, whether keeping the PAL shell or JPN shell, swap the parts accordingly. Motherboard and PSU. Laser unit is optional, in my case I went with an NTSC laser. Carefully reattach the ribbon cables and make sure everything is as it was before.
Once its all assembled power on and test. May need to put date and time in and it should be on the default menu language Japanese. Test games accordingly, there should be a big speed difference. I found that with Darius Gaiden, a lot faster now!.
Hope this helps? first time writing a guide. Definitely will post pictures 
Any steps I may missed out, let me know I,ll add em to the post.